The bowsprit and spinnaker project was finished last year and has been a success. The asymmetric is not perfect, but does pull well at true wind angles around 135°. Once moving at 6 to 8knts, the apparent moves forward and the wind is almost on the beam and the sail works well. I've hit 14.3knts (yes that's out of control). On flat water it really moves well, even in light winds. Last weekend I sailed over 36nm in a swell using the asymmetric. I did take it down for a bit as we were starting to go too fast (10knts), we put it back up as things settled again. We averaged around 6knts over the ground. The sprit worked perfectly despite the visible flexing under some force.
The sprit is made from an old wind surfer mast section. The lower part of a mast is ideal and really strong. I experimented with the thin end, and snapped it like a twig!
I got the mast by asking if anyone had old masts to spare on a local windsurfing Facebook page. To fit the mast, I set it up on land to check the angles and position.
The angle from the front beam and under the bridle works well. It needs to be fixed under bride, at the beam to stop it moving left to right, and it needs guys to resist the upward and left right forces at the front end.
Fixing at the beam
The fixing at the beam works because the spirt is pulled back hard towards the beam by the guys. I used a solid rubber dog ball from a pet shop to make a foot to fit over a feature on the front beam's web. Here's the arrangement set up using a prototype wooden foot.I cut a slot into the dog ball using a router.
Next I cut a circular slot on the other side to seat the rim of the tube into. I cut this using a core drill.
I pushed the tube into the slot which was first filled using a hot glue gun.
This fixing cushions the sprit and locates it on the font beam once the guys pull the sprit back hard. Also, in extreme situations, like a broach, the foot pulls to one side and out so that everything comes undone, which is better than breaking the pole.
Fixing at the bridle
This fixing is a simple lashing arrangement. I feel it could be improved with some kind of a seat under the bridle to sit the sprit into, however its simplicity is appealing. Here's a test version of a lashing.
Guys
The guy line arrangement key to the design. It runs from the steel bridle U-bolt on one bow to a pad eye on the underside of the tip of the sprit, down the length of the spirt to a highfield tensioner and back to through the pad eye and down to the other bow U-bolt.
Here's the pad eye which is pop-riveted to the spirt using stainless rivets.
Also shown is the up-standing block for the tack line which connects to the tack on the spinnaker. Note the both fittings are riveted, and a plastic insulating tape is used to isolate the metal from the carbon sprit. This is to reduce the possibly of galvanic action, which I'm told can affect carbon/metal interfaces.
The guys are 3mm dynemma. The design relies on the minimal stretch. Another important addition to the design is a knot in the guy cord to create a loop for the highfield. This stops the guy line slipping through the pad eye and highfield as the sprit is pulled side to side. Here's the highfield which was bolted to the tube, again with insulating tape at the interface. It's positioned close enough to the end to allow me to get the nuts in place on the inside.
The loop goes over the highfield hook and when pulled back the sprit is forced onto the front beam and the tension in the guy stops the tip of sprit lifting up or moving side to side. The tension in the dyneema is significant. It takes all my strength to pull the level over and the snap back as it goes over-centre runs the risk of catching fingers. The dyneema is so good that after a season, it was still tight.
Here's the knot in the guy cord shown on the fitted sprit.
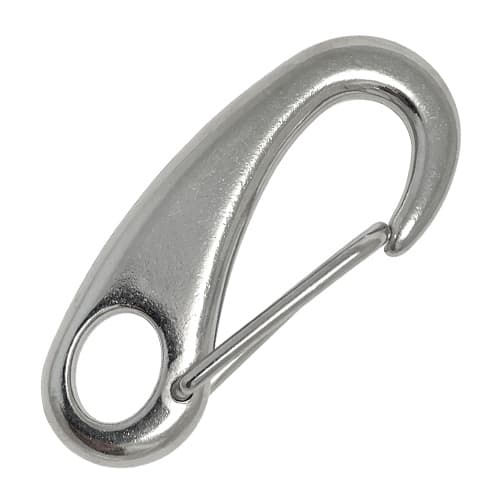
I clipped the guy lines to the bow U-bolts using stainless steel snap hooks.

I could do with some extra pictures of the whole thing, and I'll try to get some. For now, just get in touch if you have any questions.

Here's the finished product complete with the asymmetric.


No comments:
Post a Comment